No 009
Cardigan Knitting Pattern

We love to pair two threads of Lana Gatto VIP, and this is no exception. The result is a fabric that is soft and full-bodied, with the kind of drape that makes a cardigan feel effortless to wear.
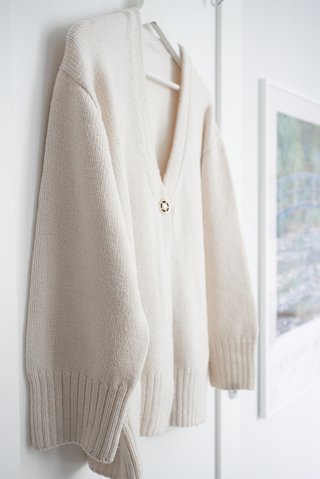
Finished result of Grivette No 009.
Generous dropped shoulders with German Short Rows for the arms.
As we've been working through this pattern, we've found it to be approachable, yet with a few techniques that might feel new if you're a beginner. It's not overly complicated, but it does invite you to slow down and try something a little more advanced.
We truly believe that knitting is at its most rewarding when a project offers just the right amount of challenge — those small details that keep you engaged and make your heart beat a little faster as it all comes together. If this is a piece you can see yourself wearing, we really encourage you to give it a go.
Italian 2x1 Bind Off.
As we've been working on this cardigan, the appreciation of how it balances that effortless, oversized feel with a more feminine and considered shape was real. It has that relaxed, almost borrowed-from-the-boys look — but with a silhouette that still feels refined and intentional.
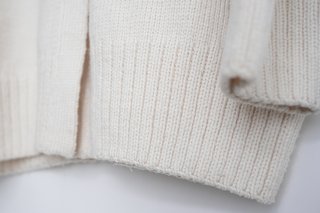
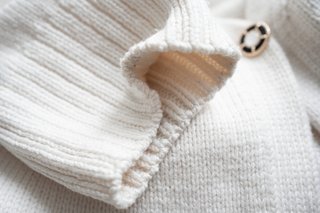
The dropped shoulders add to the relaxed fit, while the longer sleeves are finished with a higher rib at the cuffs and hem. It's a small detail, but it really pulls everything together and gives the cardigan a more polished finish.
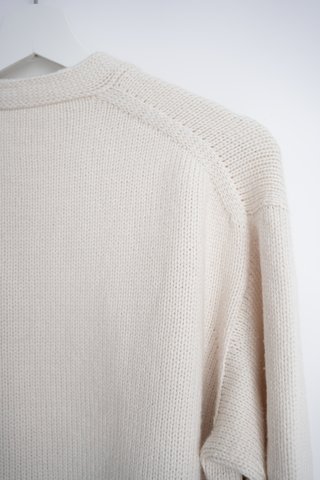
We start this construction from the Upper Back and then make Increases next to each edge. You will place a Stitch Marker x nr of stitches from each edge, and that is were you make the Increases. Here you also see the Right Shoulder of Back.
Italian 2x1 Bind Off.
To support you along the way, we've created step-by-step tutorials for every technique used in this pattern. You'll find them all in our studio on YouTube — they're there so you can feel confident taking on projects that might be just beyond the beginner level.
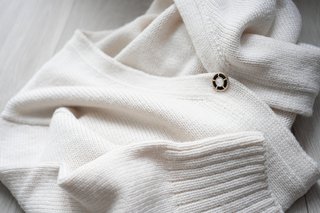
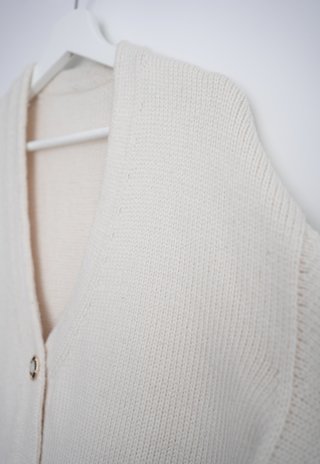
The 1 Strand Double Knitted Edge, beautiful V-Neck and 1 Button detailing on this one from the front.
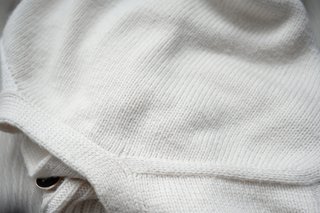
This is how you start your project with Increases for each shoulder seam from the Upper Back, except the Picked Up arm on the bottom right in the picture and Neckline edge.
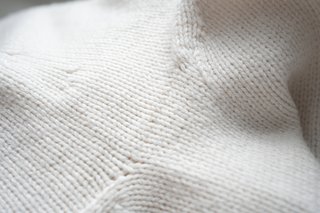
When you Pick Up stitches for the arm, under the arm where the Front and Back are joined. Ensure to add one extra stitch on each side so you get a nice seamless edge without any holes.